Nginx ingress cert auto-rotation with kv integration
General description
为AKS集群使能Azure Key Vault Provider for Secrets Store CSI Driver
配置使用Microsoft Entra Workload ID或user-assigned managed identity的方式从KV获取资源
部署SecretProviderClass资源将KV中证书资源mount,并同步到集群secretObject
参考:Sync mounted content with a Kubernetes secret,Deploy a SecretProviderClass
配置Nginx Ingress使用secretObject
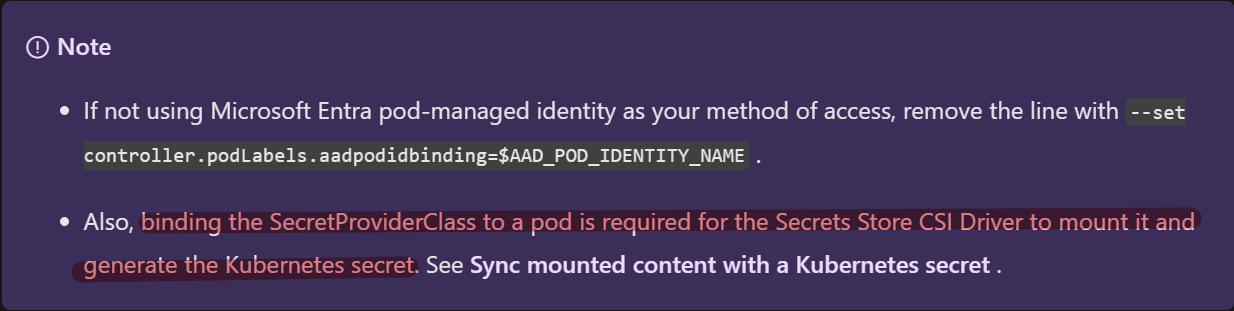
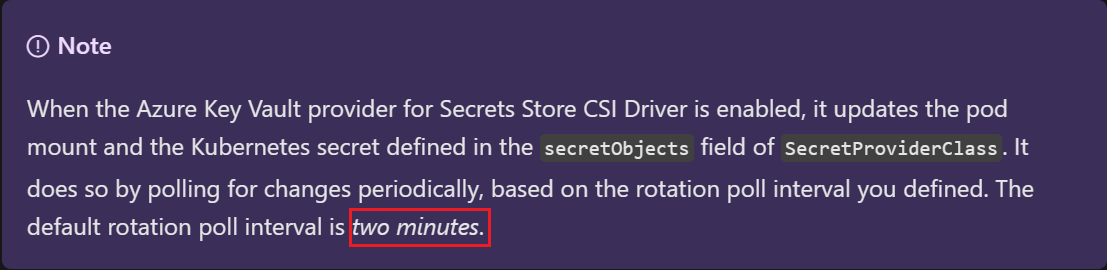
如果需要确保mount到Pod的资源可以自动更新,您需要手动使能autorotation;默认情况下,集群从KV中pull数据的间隔为2min,也可以自定义该时间间隔
另外请注意,上述autorotation的开启只能保证secret的自动更新,应用侧需要主动监测volume等的变化以达到热更新。【经测试,IngressNginx不需要Reloader也可以自动更新cert】
Detailed steps
创建好AKS集群以及kv资源
为AKS集群使能Azure Key Vault Provider for Secrets Store CSI Driver
1
2
3
4
5
6
7enable addon:
az aks enable-addons --addons azure-keyvault-secrets-provider --name csiaks --resource-group csiaks
verification
[ciel@centos ~]$ kubectl get pods -n kube-system -l 'app in (secrets-store-csi-driver,secrets-store-provider-azure)'
NAME READY STATUS RESTARTS AGE
aks-secrets-store-csi-driver-h7dzx 3/3 Running 0 139m
aks-secrets-store-provider-azure-2842p 1/1 Running 0 139m配置使用Microsoft Entra Workload ID或user-assigned managed identity的方式从KV获取资源,并验证
参考:Access with a user-assigned managed identity
a. 可以使用启用addon时候默认创建的managed identity也可以重新创建一个,这里使用现有的
Access your key vault using the az aks show command and the user-assigned managed identity created by the add-on when you enabled the Azure Key Vault provider for Secrets Store CSI Driver on your AKS Cluster.1
2[ciel@centos ~]$ az aks show -g csiaks -n csiaks --query addonProfiles.azureKeyvaultSecretsProvider.identity.clientId -o tsv
The behavior of this command has been altered by the following extension: aks-previewb. 给identity授权访问KV (”Key Vault Administrator” role)
1
2
3
4export IDENTITY_CLIENT_ID="$(az identity show -g MC_csiaks_csiaks_chinanorth2 --name azurekeyvaultsecretsprovider-csiaks --query 'clientId' -o tsv)"
export KEYVAULT_SCOPE=$(az keyvault show --name csikv --query id -o tsv)
az role assignment create --role "Key Vault Administrator" --assignee f007248d-890f-4ba2-943b-8xxxxxxde6 --scope $KEYVAULT_SCOPE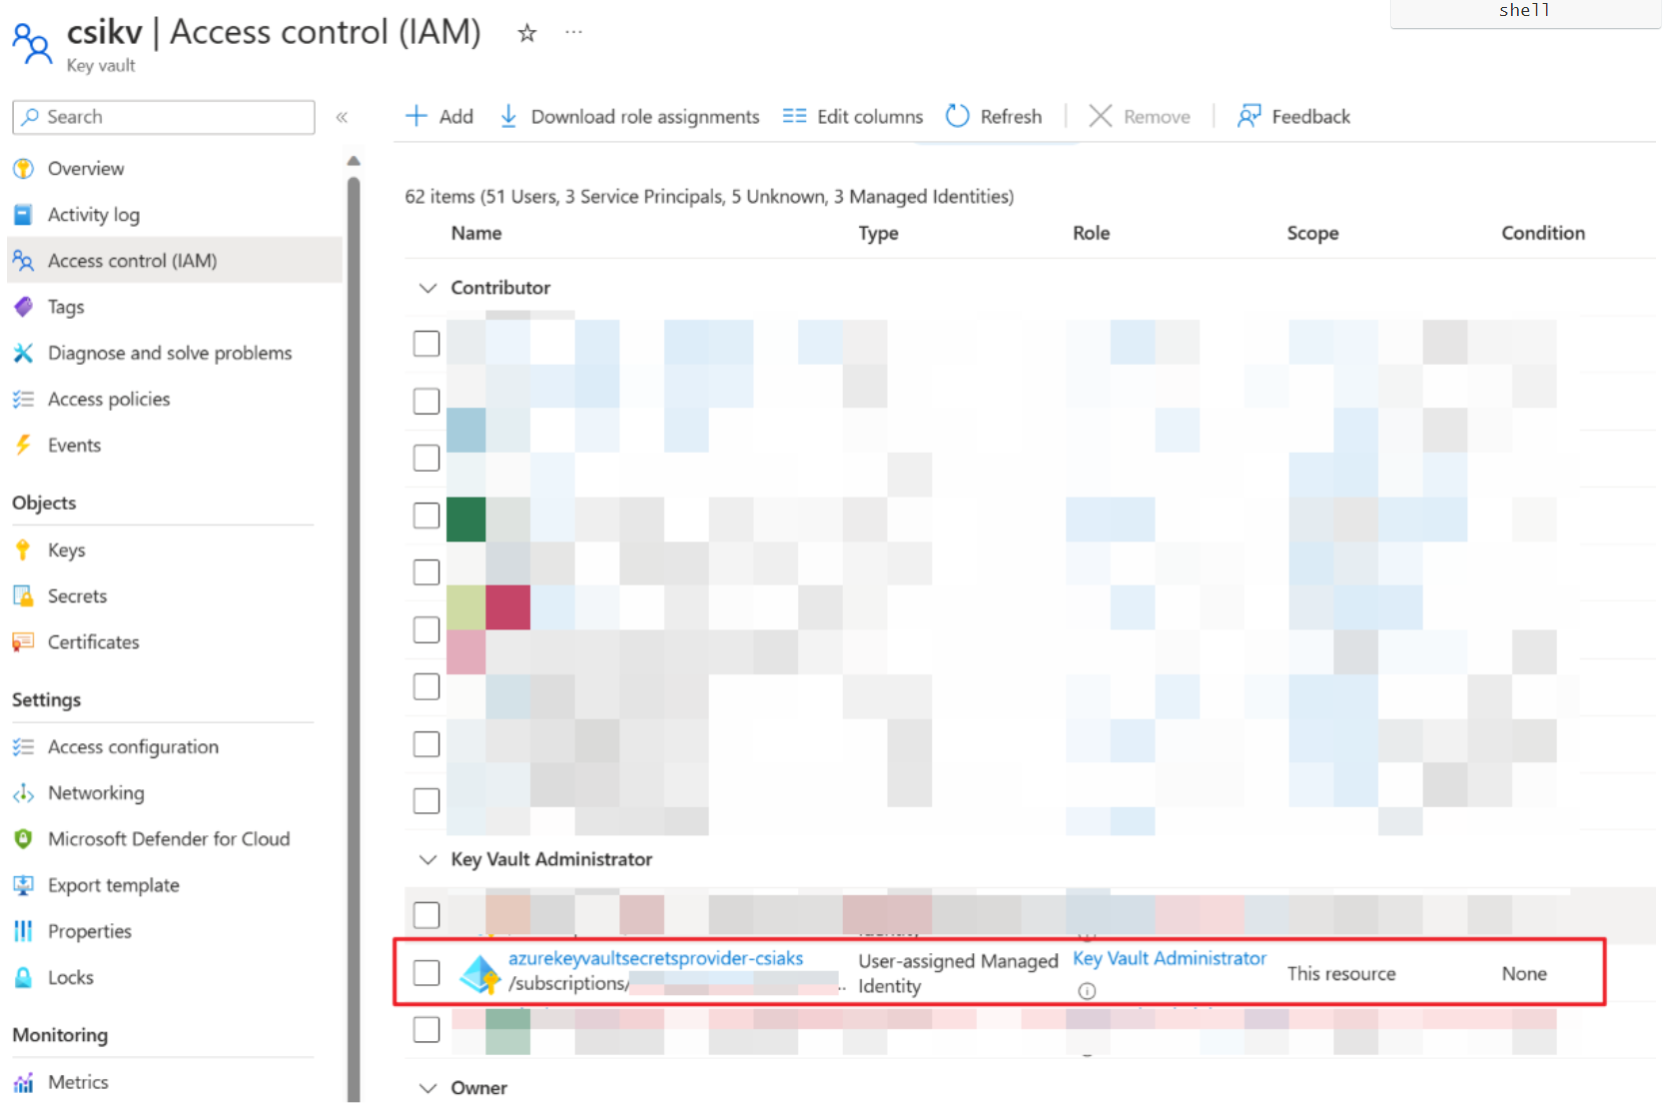
文档中步骤3-5创建了SecretProviderClass和一个busybox的pod,校验获取secret是否能成功 [先在对应的kv中创建secret1和key1]
k apply -f secretproviderclass.yml
1
2
3
4
5
6
7
8
9
10
11
12
13
14
15
16
17
18
19
20
21
22
23
24
25
26
27This is a SecretProviderClass example using user-assigned identity to access your key vault
apiVersion: secrets-store.csi.x-k8s.io/v1
kind: SecretProviderClass
metadata:
name: azure-kvname-user-msi
spec:
provider: azure
parameters:
usePodIdentity: "false"
useVMManagedIdentity: "true" # Set to true for using managed identity
userAssignedIdentityID: xxxxxxxx-xxxx-xxxx-xxxx-xxxxxxxxxx # Set the clientID of the user-assigned managed identity to use
keyvaultName: csikv # Set to the name of your key vault
cloudName: "AzureChinaCloud" # [OPTIONAL for Azure] if not provided, the Azure environment defaults to AzurePublicCloud
objects: |
array:
- |
objectName: secret1
objectType: secret # object types: secret, key, or cert
objectVersion: "" # [OPTIONAL] object versions, default to latest if empty
- |
objectName: key1
objectType: key
objectVersion: ""
tenantId: xxxxxxxx-xxxx-xxxx-xxxx-xxxxxxxxxx # The tenant ID of the key vault
~
k apply -f pod.yml
1
2
3
4
5
6
7
8
9
10
11
12
13
14
15
16
17
18
19
20
21
22
23
24This is a sample pod definition for using SecretProviderClass and the user-assigned identity to access your key vault
kind: Pod
apiVersion: v1
metadata:
name: busybox-secrets-store-inline-user-msi
spec:
containers:
- name: busybox
image: k8sgcr.azk8s.cn/e2e-test-images/busybox:1.29-4
command:
- "/bin/sleep"
- "10000"
volumeMounts:
- name: secrets-store01-inline
mountPath: "/mnt/secrets-store"
readOnly: true
volumes:
- name: secrets-store01-inline
csi:
driver: secrets-store.csi.k8s.io
readOnly: true
volumeAttributes:
secretProviderClass: "azure-kvname-user-msi"
verification
1
2kubectl exec busybox-secrets-store-inline-user-msi -- ls /mnt/secrets-store/
kubectl exec busybox-secrets-store-inline-user-msi -- cat /mnt/secrets-store/secret1
正题:配置Nginx Ingress使用KV中的证书 [文档中有Bind certificate to application以及Bind certificate to ingress controller两种,应该分别对应配置后端应用证书以及Ingress前端证书;此处lab的是在ingress controller配置ingress前端证书]
a. 创建并上传证书
1
2
3
4
5
6
7
8
9
10
11Generate a TLS certificate
export CERT_NAME=aks-ingress-cert
openssl req -x509 -nodes -days 365 -newkey rsa:2048 \
-out aks-ingress-tls.crt \
-keyout aks-ingress-tls.key \
-subj "/CN=demo.azure.com/O=aks-ingress-tls"
Import the certificate to AKV
export AKV_NAME="[YOUR AKV NAME]"
openssl pkcs12 -export -in aks-ingress-tls.crt -inkey aks-ingress-tls.key -out $CERT_NAME.pfx
skip Password prompt
az keyvault certificate import --vault-name $AKV_NAME -n $CERT_NAME -f $CERT_NAME.pfxb. Deploy a SecretProviderClass
1
2export NAMESPACE=ingress-basic
kubectl create namespace $NAMESPACEkubectl apply -f SPC1026.yaml -n $NAMESPACE
1
2
3
4
5
6
7
8
9
10
11
12
13
14
15
16
17
18
19
20
21
22
23
24
25
26
27apiVersion: secrets-store.csi.x-k8s.io/v1
kind: SecretProviderClass
metadata:
name: azure-tls
spec:
provider: azure
secretObjects: # secretObjects defines the desired state of synced K8s secret objects
- secretName: ingress-tls-csi
type: kubernetes.io/tls
data:
- objectName: aks-ingress-cert
key: tls.key
- objectName: aks-ingress-cert
key: tls.crt
parameters:
usePodIdentity: "false"
useVMManagedIdentity: "true"
userAssignedIdentityID: xxxxxxxx-xxxx-xxxx-xxxx-xxxxxxxxxx
keyvaultName: csikv # the name of the AKV instance
cloudName: "AzureChinaCloud"
objects: |
array:
- |
objectName: aks-ingress-cert
objectType: secret
tenantId: xxxxxxxx-xxxx-xxxx-xxxx-xxxxxxxxxx # the tenant ID of the AKV instance
c. Deploy the ingress controller –> check Bind certificate to ingress controller section
1 | helm install my-ingress ingress-nginx/ingress-nginx --version 4.1.3 \ |
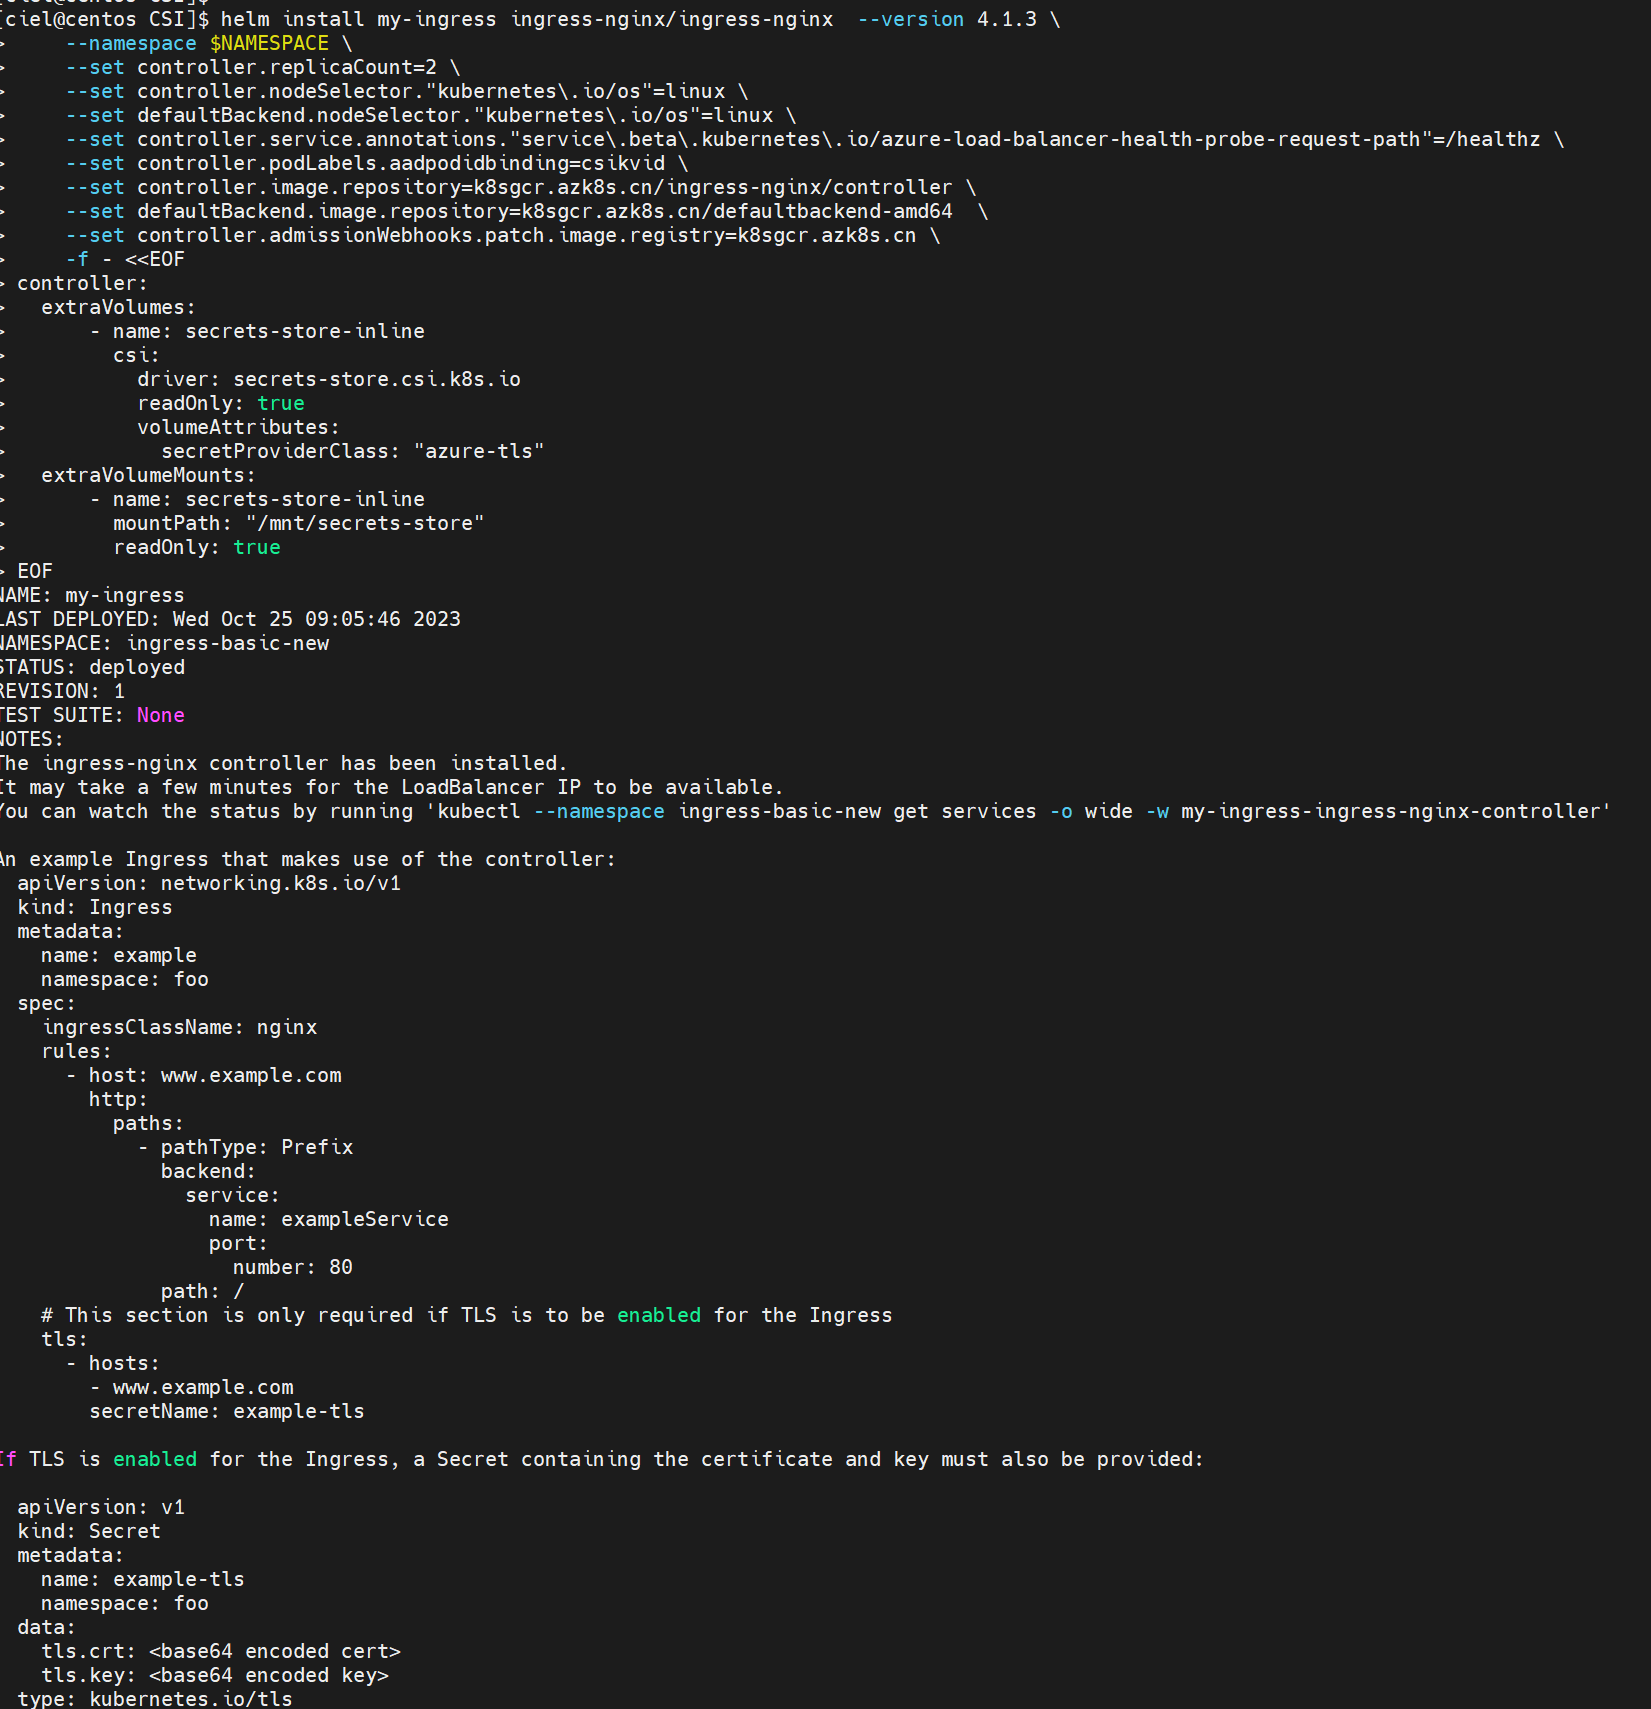
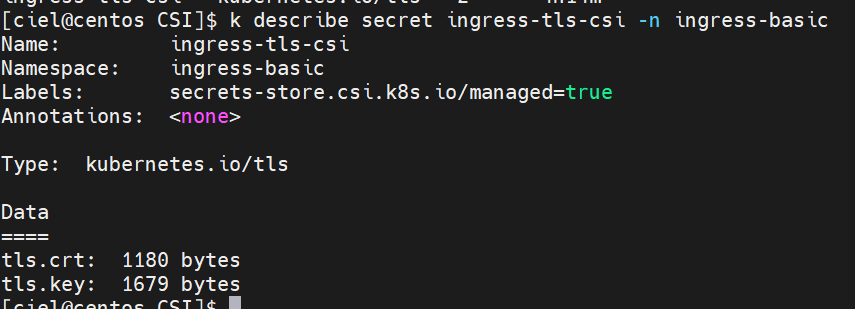
Ingress controller Pod 创建好之后就可以在集群里看到Secret啦

d. Deploy the application –> Deploy the application using an ingress controller reference [文档里面yaml格式空格有点儿问题]
kubectl apply - f aks-helloworld-one . yaml - n $NAMESPACE
1 | apiVersion: apps/v1 |
kubectl apply - f aks-helloworld-two . yaml - n $NAMESPACE
1 | apiVersion: apps/v1 |
e. Deploy an ingress resource referencing the secret
*kubectl apply **-f hello-world-ingress.**yaml **-*n $NAMESPACE
1 | apiVersion: networking.k8s.io/v1 |
verification
1 | [ciel@centos CSI]$ kubectl get service --namespace $NAMESPACE --selector app.kubernetes.io/name=ingress-nginx |
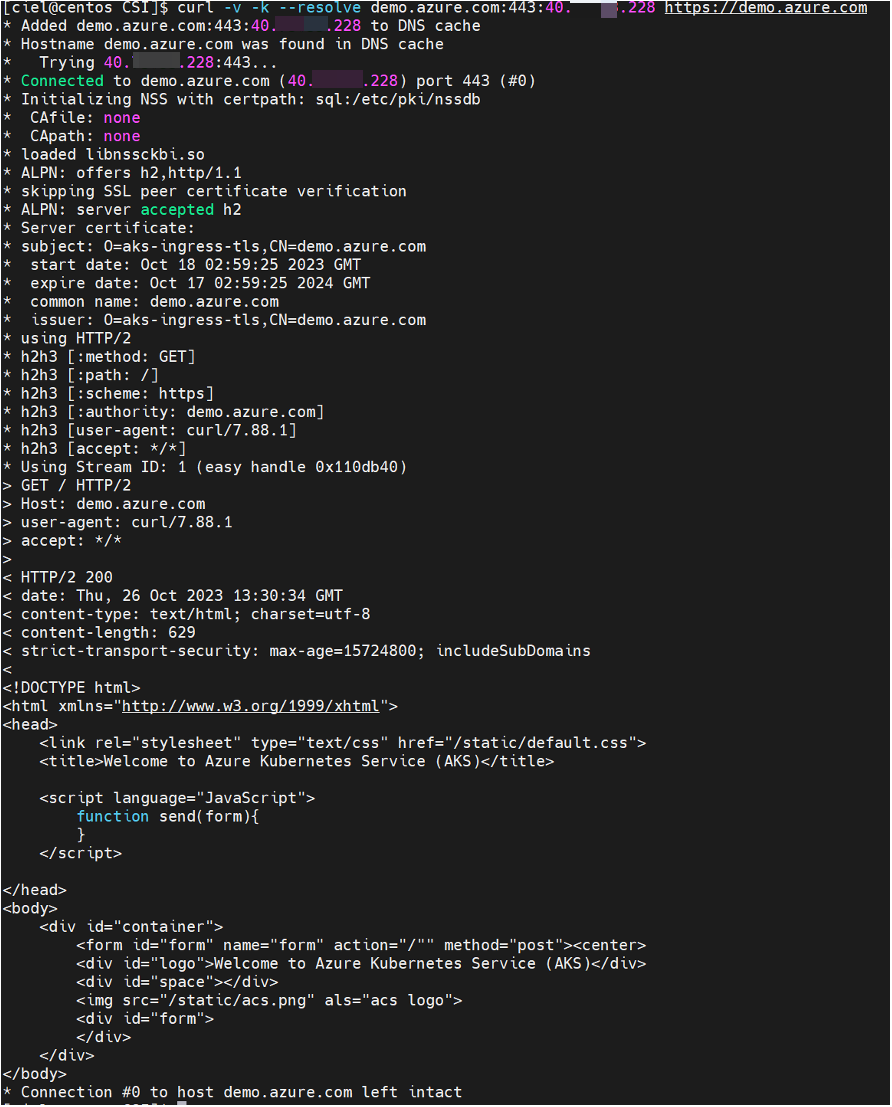
1 | curl -v -k --resolve demo.azure.com:443:40.73.33.228 https://demo.azure.com |
如果需要确保mount到Pod的资源可以自动更新,需要手动使能autorotation;默认情况下,集群从KV中pull数据的间隔为2min,也可以自定义该时间间隔
参考:Enable and disable autorotation
1
az aks addon update -n csiaks -g csiaks -a azure-keyvault-secrets-provider --enable-secret-rotation

另外请注意,上述autorotation的开启只能保证secret的自动更新,应用侧需要主动监测volume等的变化以达到热更新。
[经测试,Ingress Nginx不需要Reloader也可以自动更新cert]